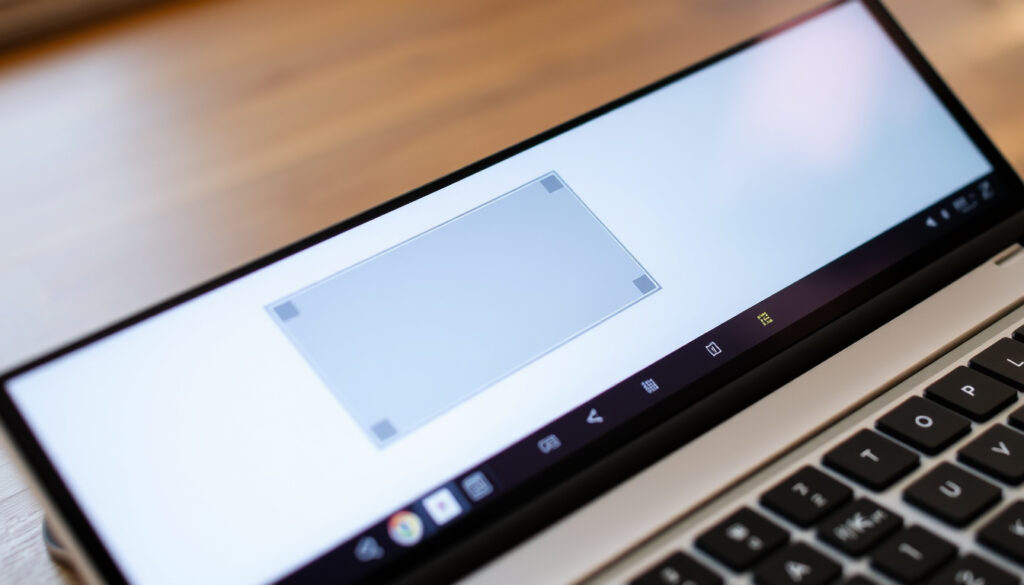
How to Screenshot on Chromebook: 3 Easy Methods (2025 Guide)
Taking a screenshot on a Chromebook should be as easy as pressing a key or two — and usually, it is, but the exact shortcut changes depending on whether you have a physical keyboard, a tablet mode, or a school‑managed device. Here’s how to capture your screen with three built‑in methods, what to do when the Ctrl key is missing, and how to find your screenshots right after you take them.
Number of built-in screenshot methods: 3 · Full-screen shortcut: Ctrl + Show Windows (usually F5) · Partial-screen shortcut: Shift + Ctrl + Show Windows · Screen Capture toolbar shortcut: Shift + Ctrl + Show Windows
Quick snapshot
- Full screen: Ctrl + Show Windows (ASUS Chromebook keyboard shortcuts)
- Partial screen: Shift + Ctrl + Show Windows (Lenovo Chromebook screenshot guide)
- Screen Capture toolbar: Shift + Ctrl + Show Windows (YouTube: How to Take Screenshots on a Chromebook)
- On-screen keyboard via accessibility settings
- Stylus button on touchscreen models
- External USB or Bluetooth keyboard
- Files app > Downloads folder (YouTube: How To Take A Screenshot on Chromebook)
- Tote shelf for quick access (YouTube: How To Take A Screenshot on Chromebook)
- Notification click to open (YouTube: How To Take A Screenshot on Chromebook)
- Check if shortcuts are blocked by admin
- Use Screen Capture toolbar as fallback
- Camera app as last resort (not a true screenshot)
Five key facts, one pattern: every Chromebook screen capture relies on the Show Windows key (often F5) and the same Ctrl/Shift combinations. Here’s the quick rundown.
| Attribute | Value |
|---|---|
| Default screenshot format | PNG |
| Default screenshot location | Downloads folder (Lenovo) |
| Screen recording format | MP4 |
| Show Windows key location | Top row, often F5 (YouTube) |
| Number of built-in capture methods | 3 (full, partial, toolbar) |
The implication: the Show Windows key is the fulcrum — without it, you’ll need to reach for the toolbar or a stylus.
How do I take a screenshot on a Chromebook?
Full-screen capture using keyboard
- Press Ctrl + Show Windows (the Show Windows key looks like a rectangle with two vertical lines and is usually F5).
- This captures the entire screen and saves it as a PNG in the Downloads folder (Lenovo Chromebook screenshot guide).
- The Lenovo Chromebook screenshot guide confirms the same shortcut: Ctrl + Window Switcher (Lenovo).
This is the fastest method for most users — two keys, one result.
Partial-screen capture using keyboard
- Press Shift + Ctrl + Show Windows.
- The cursor becomes a crosshair. Click and drag to select the area you want (Lenovo).
- Release the mouse or trackpad to capture the selected region. The screenshot is saved automatically.
Using the Screen Capture toolbar
- Press Shift + Ctrl + Show Windows to open the Screen Capture toolbar.
- Choose full‑screen, partial, or window capture from the toolbar (YouTube: How to Take Screenshots on a Chromebook).
- The toolbar also includes a screen recording option (see the Ctrl+Alt+Z section below).
What this means: the same shortcut opens the toolbar, giving you four options in one place — screenshot or record, full or partial.
How to screenshot on Chromebook without Ctrl key?
Using the on-screen keyboard
- Enable the on-screen keyboard in Settings > Accessibility > Keyboard > On-screen keyboard.
- Tap the Ctrl, Shift, and Show Windows keys in the virtual keyboard to perform the shortcuts (Lenovo recommends checking Settings > Device > Keyboard for your device’s layout).
Using the stylus button (on touchscreen Chromebooks)
- On Chromebooks that support a stylus, pressing the button on the stylus can open the Screen Capture toolbar.
- This bypasses the need for a physical keyboard altogether.
Using an external keyboard or remapping keys
- Connect a USB or Bluetooth external keyboard. If it has a Windows key, that key functions as the Search/Launcher key (YouTube).
- Chrome OS does not natively support custom key remapping for screenshot shortcuts, but third‑party apps may offer workarounds.
Users with a broken Ctrl key or a keyboard‑less tablet can still capture screenshots via the on‑screen keyboard or a stylus — no hardware repair needed.
The pattern: even without a physical Ctrl key, Chromebook users have fallback options that work without repairs.
How do I go to my screenshots on Chromebook?
Finding screenshots in the Files app
- Open the Files app (folder icon in the shelf).
- Navigate to Downloads. By default, all screenshots are saved there as PNG files (Lenovo).
Accessing screenshots from the Tote shelf
- The Tote is the area at the bottom left of the shelf that shows recently downloaded files.
- Your latest screenshot appears there for one‑click access before it moves to Downloads.
Using the Gallery app to view and edit
- Open the Gallery app (pre‑installed on Chrome OS).
- It automatically picks up images from Downloads, including screenshots. You can crop, annotate, and rotate directly.
The pattern: the Downloads folder is your primary screenshot hub, but the Tote and Gallery give you faster access without digging through folders.
How do I take a picture on a school Chromebook?
Using the Screen Capture toolbar when shortcut keys are blocked
- School‑managed Chromebooks often disable individual keys. Try Shift + Ctrl + Show Windows anyway — it may open the Screen Capture toolbar even when other keys are locked.
- If the toolbar opens, you can still capture screenshots without relying on the full‑screen shortcut.
Using the camera app for photos (not screenshots)
- Open the Camera app and take a photo of the screen. This is not a true screenshot (it may show glare or reflections), but it works as a low‑tech fallback.
Understanding school restrictions and workarounds
- Admin policies may block screenshots entirely via Google Admin Console. Workarounds that violate school rules (e.g., using Linux tools) are not recommended.
- Check with your IT department if you need screenshots for schoolwork — they may enable the feature on request.
School Chromebooks trade flexibility for security. Students who need screenshots for assignments should ask for permission rather than risk bypassing admin policies.
The catch: school‑managed devices prioritize security over convenience, so students should seek permission rather than bypass policies.
What does Ctrl+Alt+Z do on a Chromebook?
Screen recording versus screenshot
- Ctrl+Alt+Z toggles the screen recording overlay — it does not take a screenshot.
- Once the overlay appears, you can start, pause, and stop recording your screen. The video saves as an MP4 file in Downloads.
How to use the screen recording feature
- Press Ctrl+Alt+Z. A floating control bar appears.
- Choose to record the full screen, a partial area, or a specific window.
- Press the record button; press Stop when done. The video is saved automatically.
Differences between screen capture and screenshot
- Screenshots are still images (PNG). Screen recordings are video (MP4) — useful for tutorials or demonstrations.
- The Screen Capture toolbar (Shift+Ctrl+Show Windows) offers both screenshot and recording modes in one place.
Why this matters: many users confuse Ctrl+Alt+Z with a screenshot shortcut. It’s meant for video, not stills — knowing the difference saves frustration.
Step-by-step guide to taking screenshots on a Chromebook
- Full-screen screenshot: Press Ctrl + Show Windows. The entire screen is captured and saved to Downloads (Lenovo).
- Partial screenshot: Press Shift + Ctrl + Show Windows, then click and drag to select the area (Lenovo).
- Screen Capture toolbar: Press Shift + Ctrl + Show Windows (same as step 2 but choose from toolbar options: full, partial, window, or record).
- Without physical keyboard: Use the on‑screen keyboard (enable in accessibility settings) or a stylus button (on touchscreen models).
- Find your screenshot: Open Files > Downloads, or click the screenshot notification that appears after capture.
The result: mastering these five steps covers all Chromebook screenshot scenarios.
Confirmed facts vs. what remains unclear
Confirmed facts
- Ctrl + Show Windows captures the full screen (Lenovo).
- Shift + Ctrl + Show Windows opens the screen capture toolbar (YouTube).
- Screenshots save to the Downloads folder (Lenovo).
- Ctrl+Alt+Z toggles screen recording overlay.
What’s unclear
- Exact support for custom key remapping for screenshots on Chrome OS — no official tool exists, but third‑party apps vary.
- Whether school policies allow any workaround for blocked screenshots — depends on each school’s admin settings.
The bottom line: the shortcuts are reliable, but school and hardware variations require flexibility.
“On most Chromebooks, the standard shortcut for a full-screen screenshot is Ctrl + Show windows.”
“The full-screen shortcut is Ctrl + Window Switcher and the partial shortcut is Ctrl + Shift + Window Switcher.”
Lenovo Chromebook screenshot guide
“After taking a screenshot, Chromebooks typically save it in the Downloads folder.”
YouTube: How To Take A Screenshot on Chromebook
For a more detailed walkthrough of Chrome OS options, see this guide to taking screenshots on Chromebook which covers additional tips for school and work devices.
Frequently asked questions
Can I take a screenshot on a Chromebook without a keyboard?
Yes. Use the on‑screen keyboard (enable in Settings > Accessibility > Keyboard) or, on touchscreen models, press the stylus button to open the Screen Capture toolbar.
How do I take a screenshot on a Chromebook tablet?
Tablets use Power + Volume down simultaneously to capture the screen (ASUS).
Where are screenshots stored on a Chromebook?
By default, they are saved as PNG files in the Downloads folder inside the Files app (Lenovo).
Can I edit screenshots on a Chromebook?
Yes. Use the built‑in Gallery app to crop, annotate, and rotate your screenshots.
How to take a screenshot on a Chromebook with Linux installed?
Linux apps can use their own screenshot tools (e.g., GNOME Screenshot), but the standard Chrome OS shortcuts still work in the Chrome OS side.
Why are my screenshots not saving on Chromebook?
Check that your Downloads folder has enough space and that you are not in Guest mode (screenshots are disabled in Guest mode). Also verify that the screenshot notification appeared — if not, retry the shortcut.
How to take a screenshot on a Chromebook using a mouse?
A mouse alone cannot trigger a screenshot. You need the keyboard shortcut or the on‑screen keyboard. An external keyboard with a Windows key can substitute for the Show Windows key (ASUS).
For Chromebook users, the choice is straightforward: master the two core shortcuts (Ctrl + Show Windows and Shift + Ctrl + Show Windows) to handle 90% of screenshot needs. If you’re on a school‑managed device, the Screen Capture toolbar is your best bet — but always check your school’s policy first rather than risk a workaround.
For Chromebook users, mastering the two core shortcuts ensures they can capture screenshots in most situations. School‑managed device users should check with IT before attempting workarounds.
More related posts
 Available Car Castle Donington: Used Cars & Reviews
 Is Swimming Good for Weight Loss? Calories, Frequency & Results
 Sarah Beeny: What She’s Doing Now, Family & Health
 Gift Sets for Women – Value Picks From £15 to £150
 War in Ukraine Today: Military Strength, Peace Terms & News
 Bob Ross: Death, Accusations, and Painting Values in 2025
 Calories in a Banana: Nutrition Facts and Health Insights
 Turkish Airlines Check-In: Online, Airport & App Guide